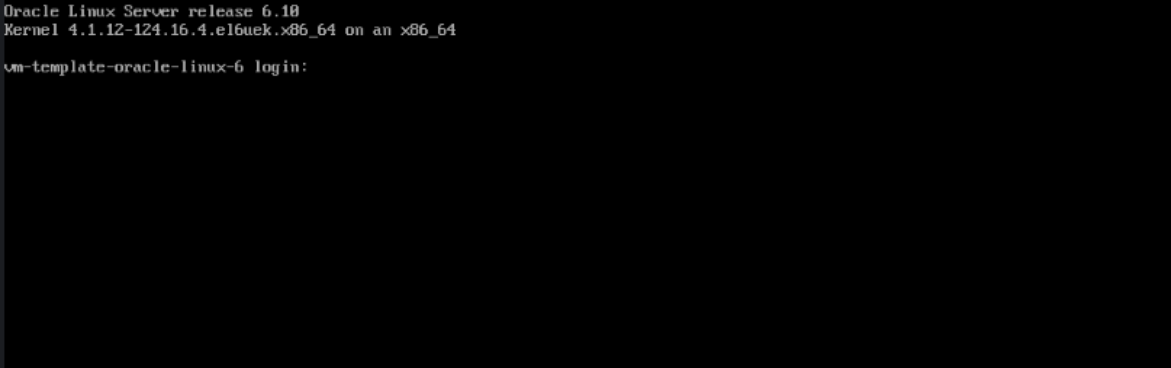
Installation Log of Oracle Linux 6 #
In the past few months, I encountered an “antique” at work that needed to be installed on Oracle Linux 6. So I decided to log the installation process along the way. After all, resources on this are becoming increasingly scarce and are gradually disappearing. Who knows if Oracle will one day shut down this open-source resource, just like NetBeans 6.8.
To talk about the origin of Oracle Linux 6, we must turn back the clock to 2006. At that time, Oracle, in order to address the support and performance issues of its own database on Linux, announced the launch of the “Unbreakable Linux” program, directly building downstream versions based on the source code of Red Hat Enterprise Linux (RHEL) (commonly known as RHEL derivatives or downstream versions).
Following Red Hat’s release of the epoch-making RHEL 6 at the end of 2010, Oracle promptly launched Oracle Linux 6 in February 2011.
The most prominent hallmark of this generation in the history of Linux development was Oracle’s establishment of the “Dual-Kernel” strategy:
- RHCK (Red Hat Compatible Kernel): To ensure 100% software compatibility, Oracle compiled a kernel identical to Red Hat’s. If your application can only run on standard RHEL, switching to this kernel allows for a seamless transition.
- UEK (Unbreakable Enterprise Kernel): This is Oracle’s main attraction. Based on a newer upstream Linux kernel, they performed deep optimizations, introducing performance improvements tailored for large-capacity memory, multi-core processors, and Oracle’s own database (such as caching and I/O mechanisms). In the Oracle Linux 6 era, UEK enabled many large enterprises to achieve significant database performance improvements without changing their hardware.
Oracle Linux 6’s standard Production Support officially ended in November 2020, subsequently entering the Extended Support phase.
Today, it has long completed its historical mission and become an “antique” in IT archaeology. However, because of its extremely high adoption rate in enterprise database centers back then, many old legacy systems that have been running stably for over a decade—without source code updates—still heavily rely on this environment. As official resources and online documentation gradually disappear, every installation and debugging log becomes a precious spark to keep these corporate behemoths running.
For those interested, let us appreciate the installation process of this antique together below.
Installation Environment Configuration #
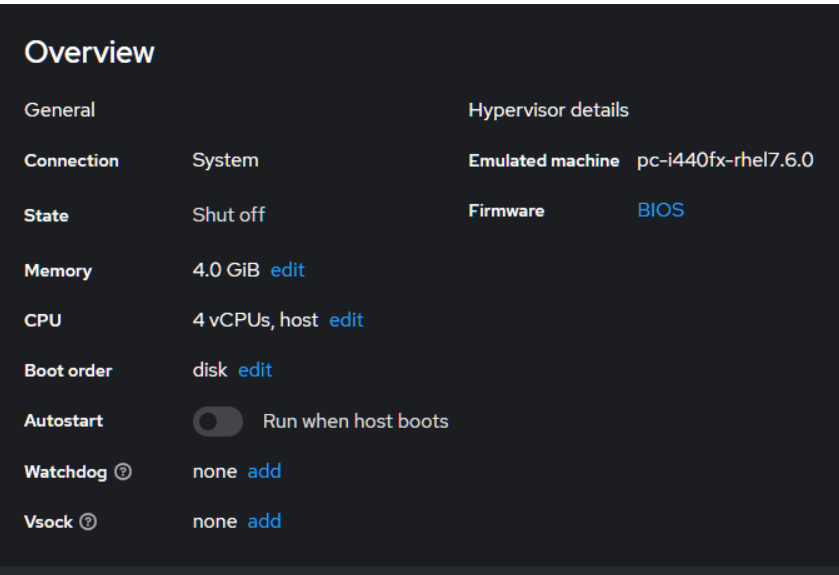
My installation environment is inside KVM. Below is the KVM configuration:
Oracle Linux 6 Installation Steps #
Next, let’s proceed with the installation steps:
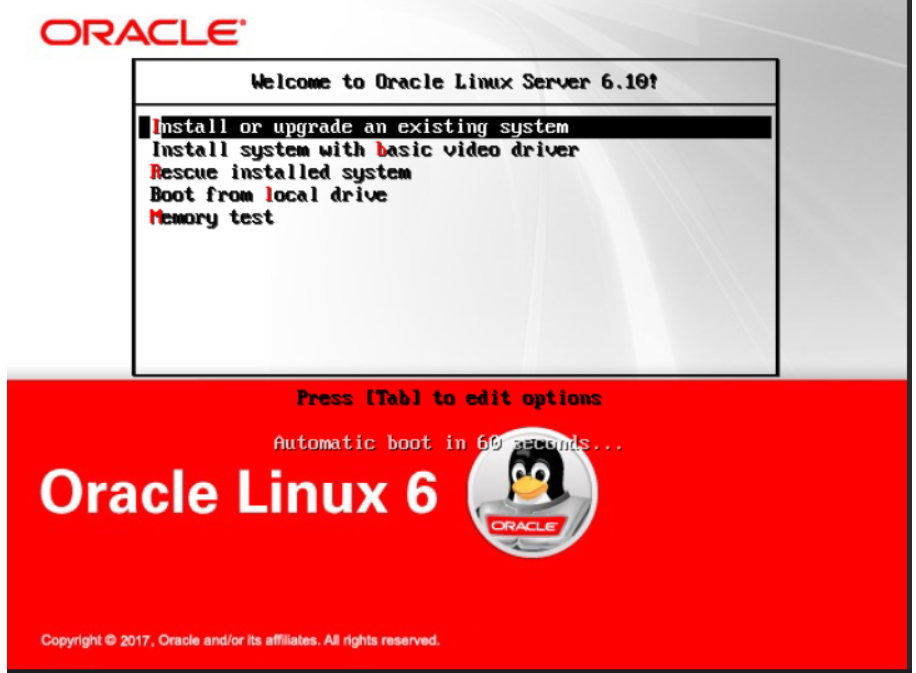
1. Initial Boot Menu: Select “Install or upgrade an existing system”. #
At the beginning, you will enter the selection menu. Here, I choose "Install or upgrade an existing system".
2. Hard Drive Detection: The system begins checking hard drives and a prompt dialog appears. #
After entering, it will start scanning hard drives and a dialog box will appear once detected.
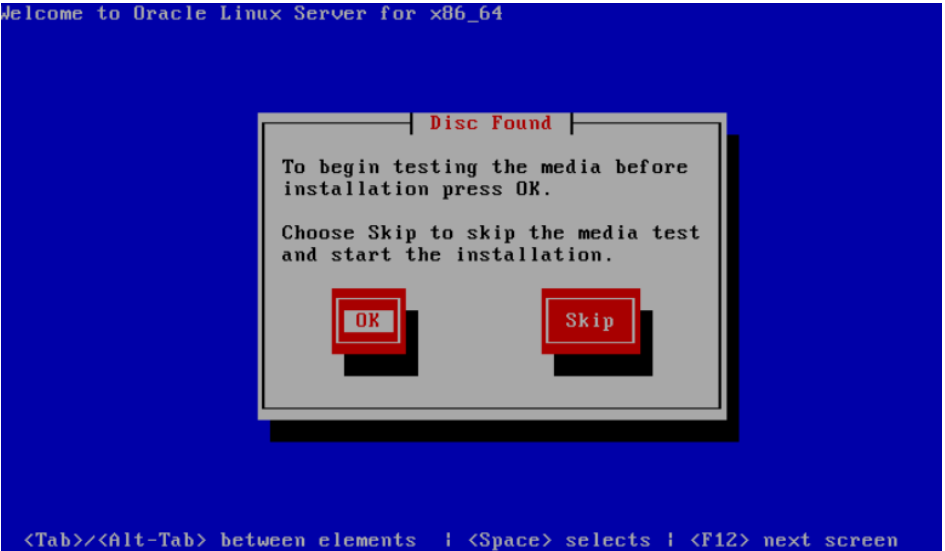
3. Device Check Prompt: Asks whether to check the current target device. #
Next, it will ask if you want to check the current target device.
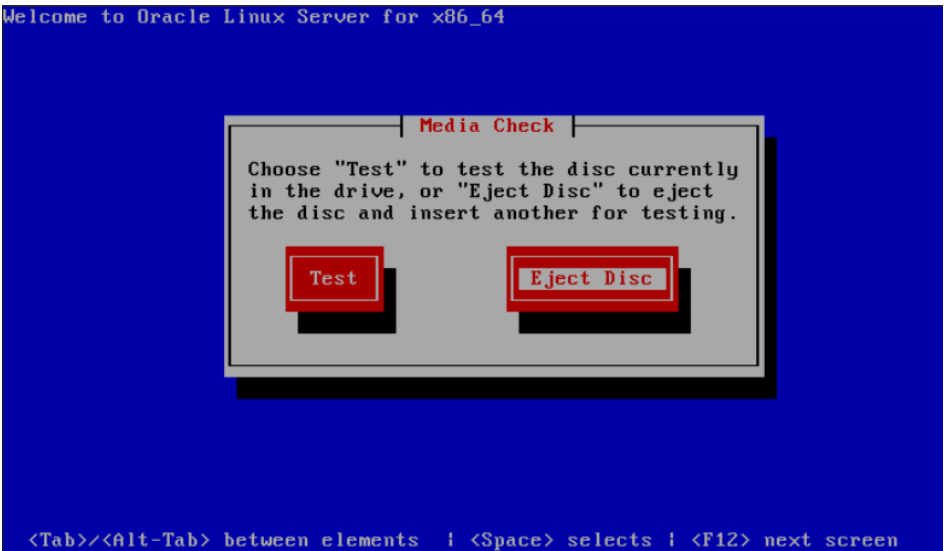
4. Reconfirmation: Enter the reconfirmation screen. #
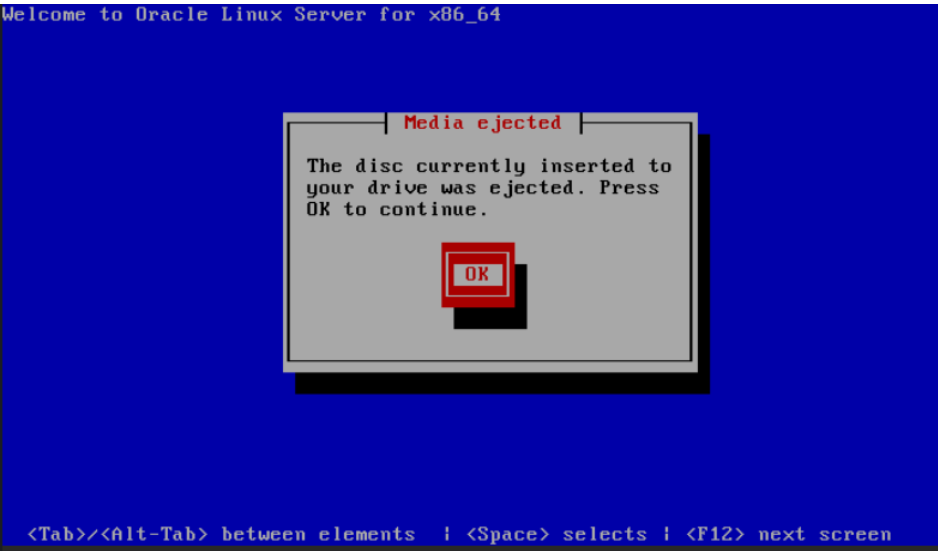
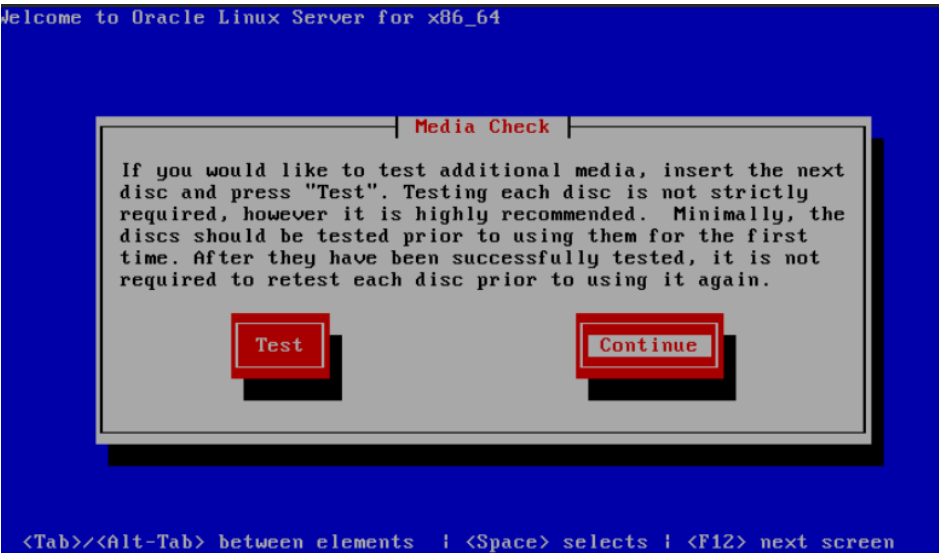
5. Installation CD Check: Asks whether to check the installation CD of the current target. #
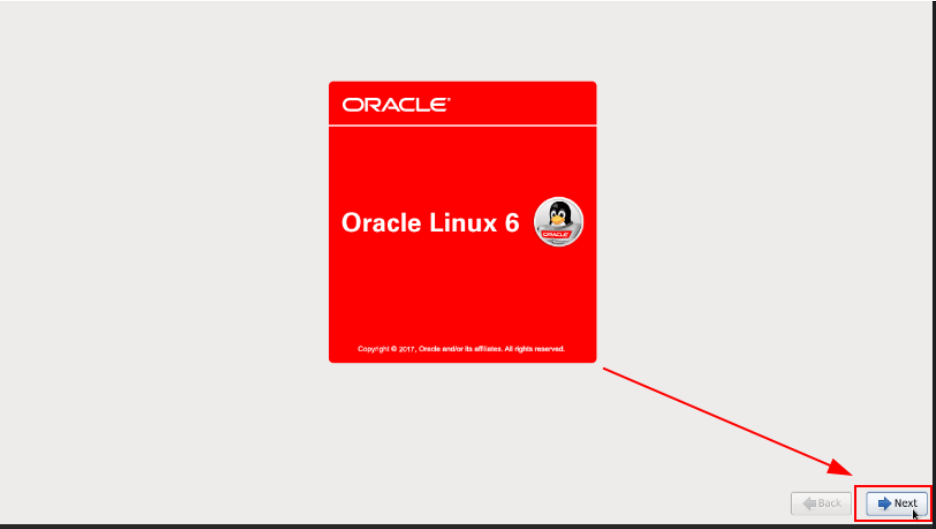
6. Installation GUI Start: Click “Next” when the graphical installation screen appears. #
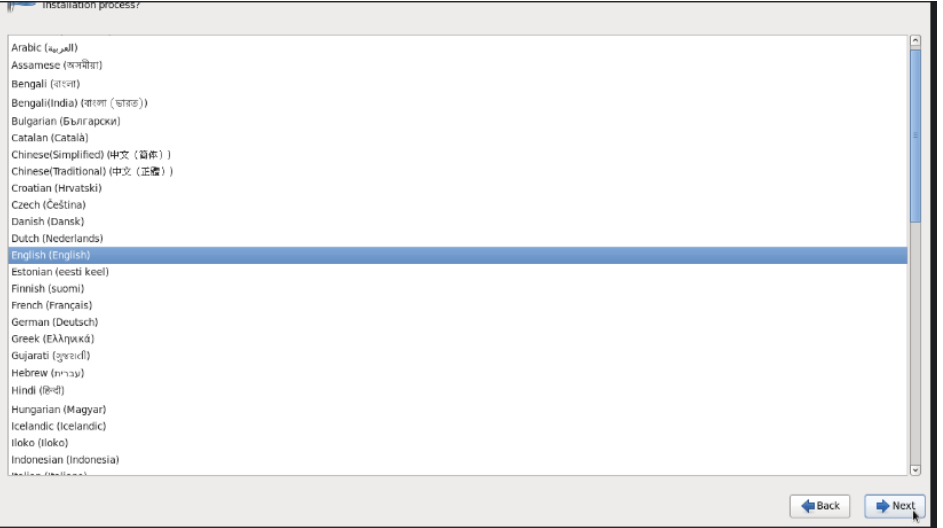
7. Language Selection: Select the language to install. #
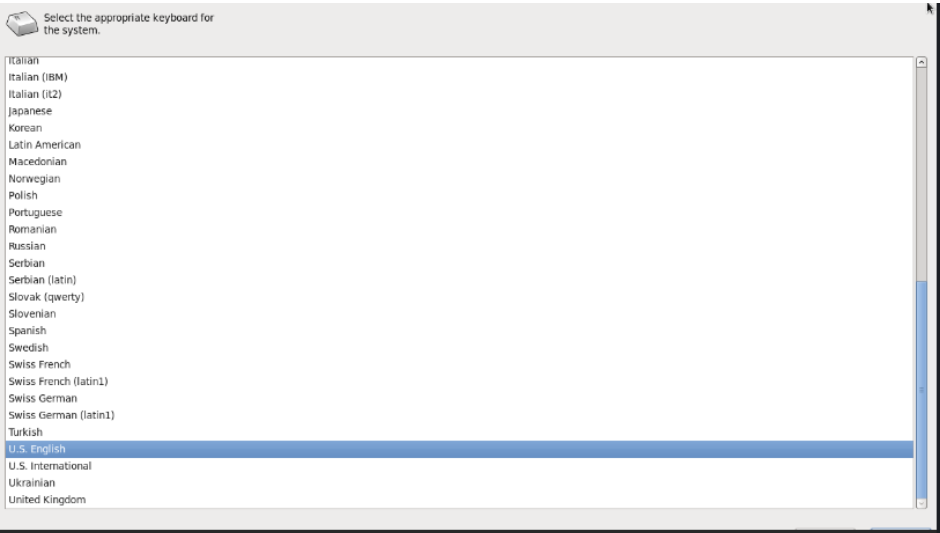
8. Keyboard Layout Selection: Select the keyboard layout. #
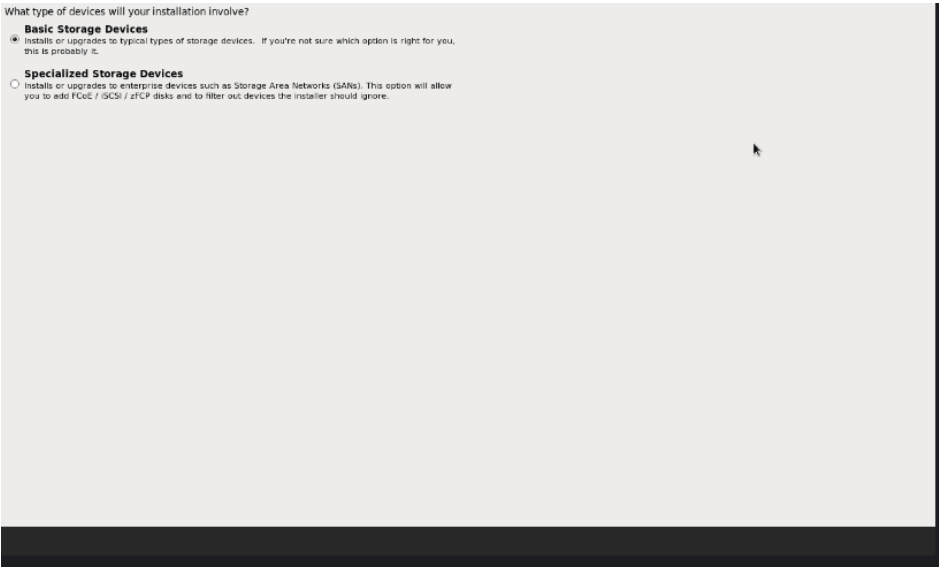
9. Storage Device Selection: Select “Basic Storage Devices”. #
Since I am installing this directly on the local host's hard drive, I select "Basic Storage Devices".
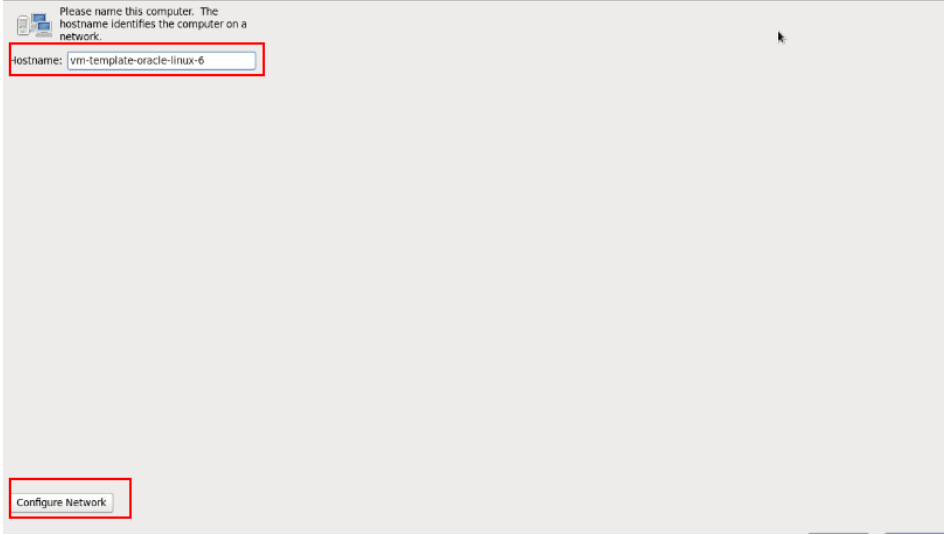
10. Hostname and Network Setup: Enter the hostname and configure network card settings. #
11. Select Network Card: Choose to add a network card. #
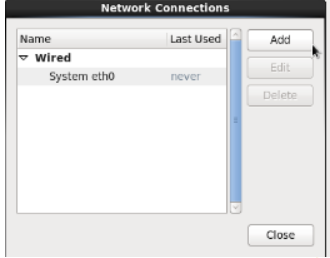
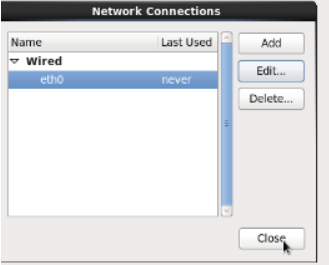
12. Configure Network Connection: After configuring network connection info, click “Close”. #
Once entered, click "Close".
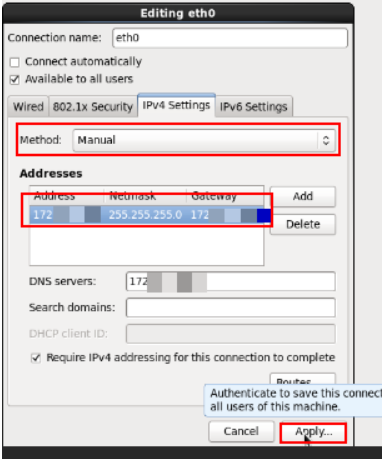
After finishing inputs, click “Close”.
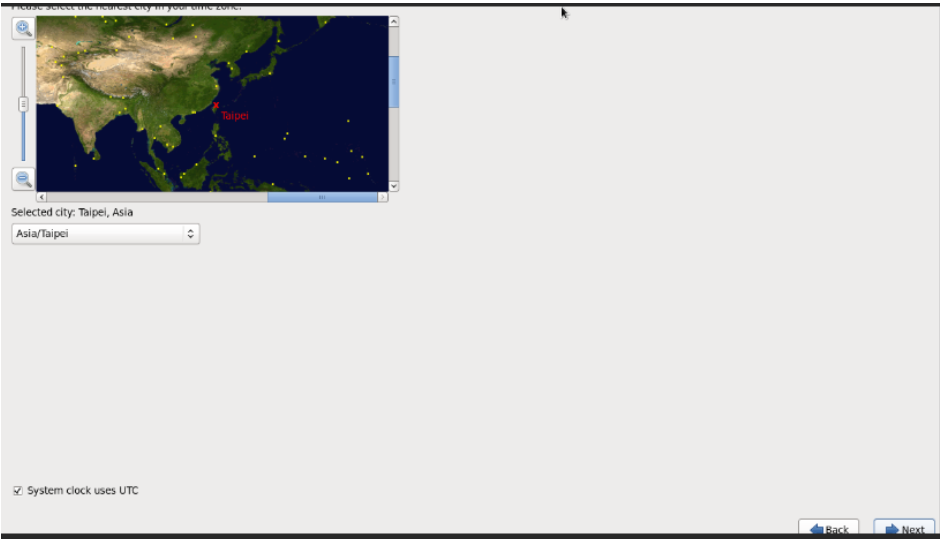
13. Time Zone Setting: Set the time zone. #
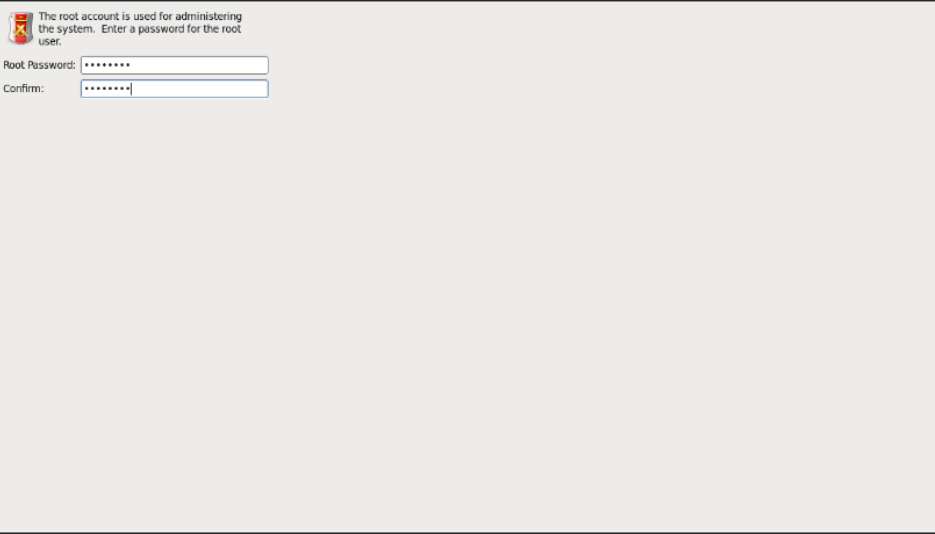
14. Root Password Input: Enter the root password. #
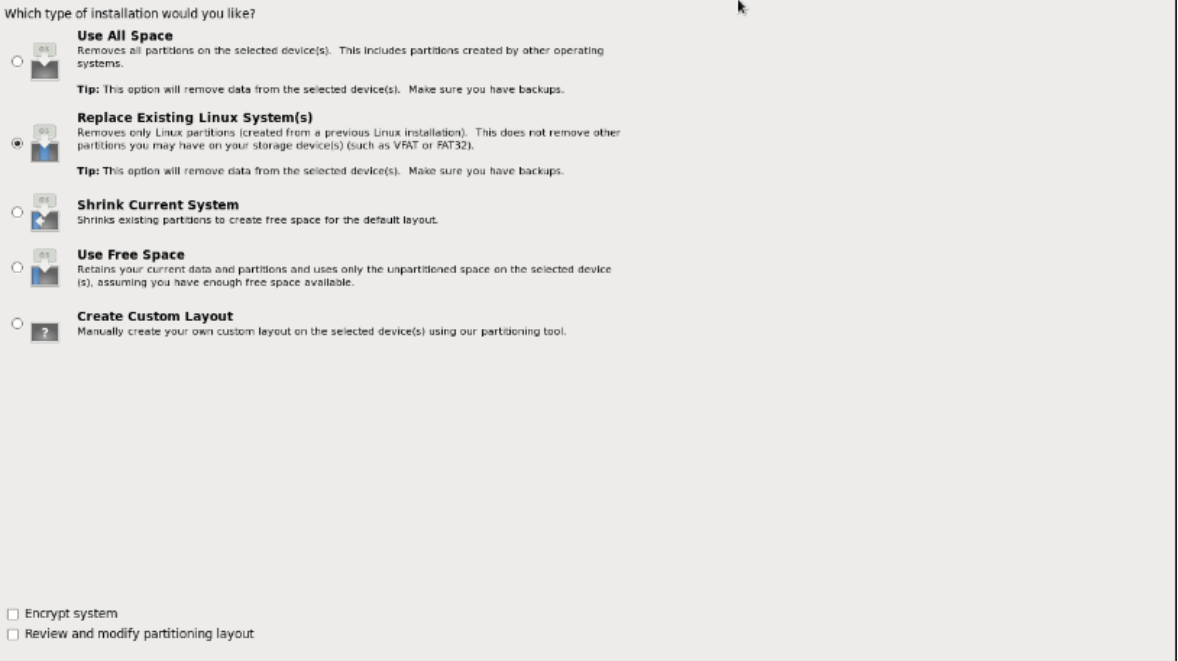
15. Disk Partitioning/Space Allocation: Select disk space to allow Linux and Windows to coexist. #
Select the disk space to install to. Here, the design is intended to allow Linux and Windows to coexist—truly a blast from the past!
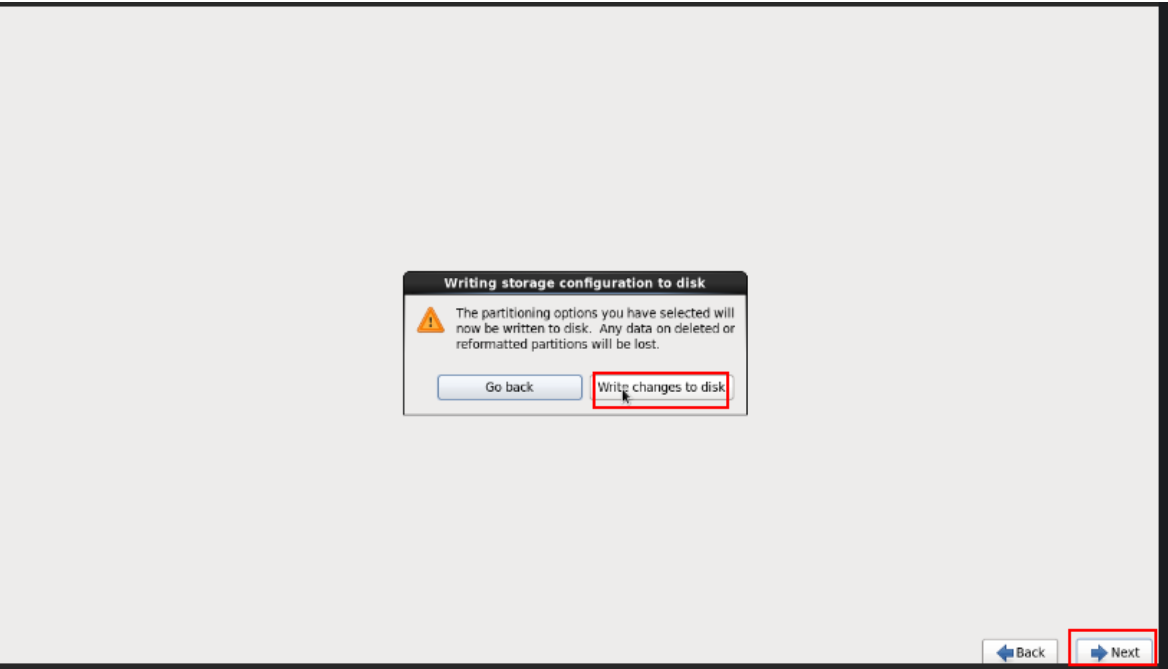
16. Configuration Confirmation: The confirmation dialog after completing hard drive setup. #
A confirmation dialog will appear after configuration.
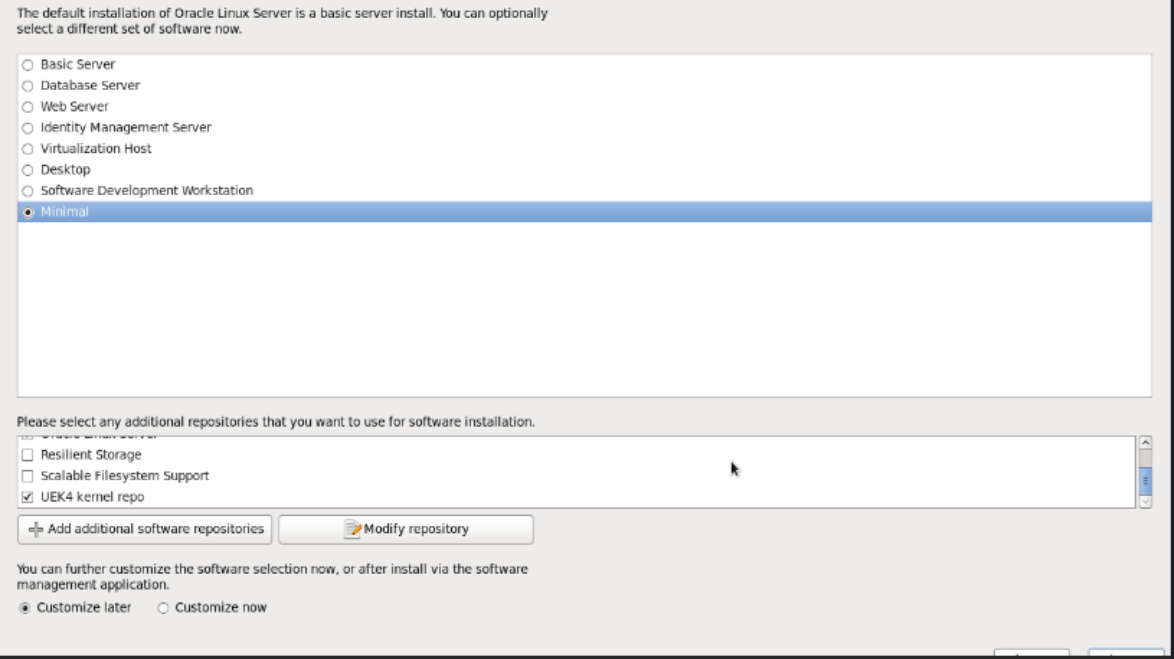
17. Installation Method Selection: Select the “Minimal” installation option. #
Choose the installation method. Here, I select "Minimal".
18. Installation Complete: Click “Restart” to finish installation. #
Once confirmed, just wait for the installer to finish.
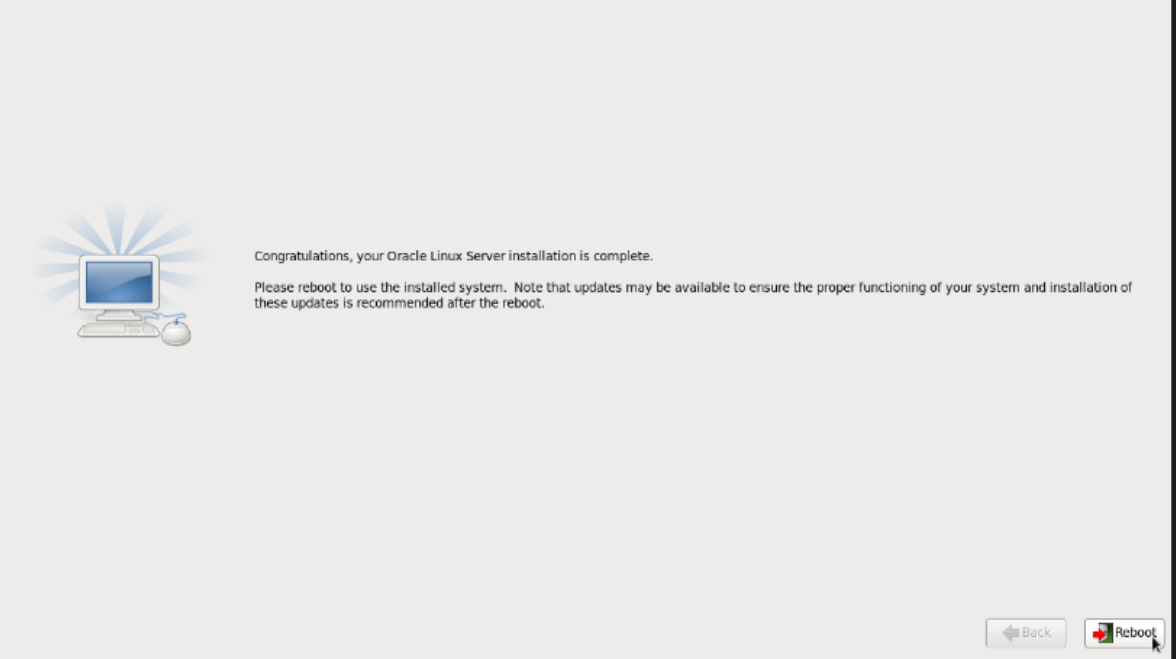
Installation complete screen. Let's click "Restart".
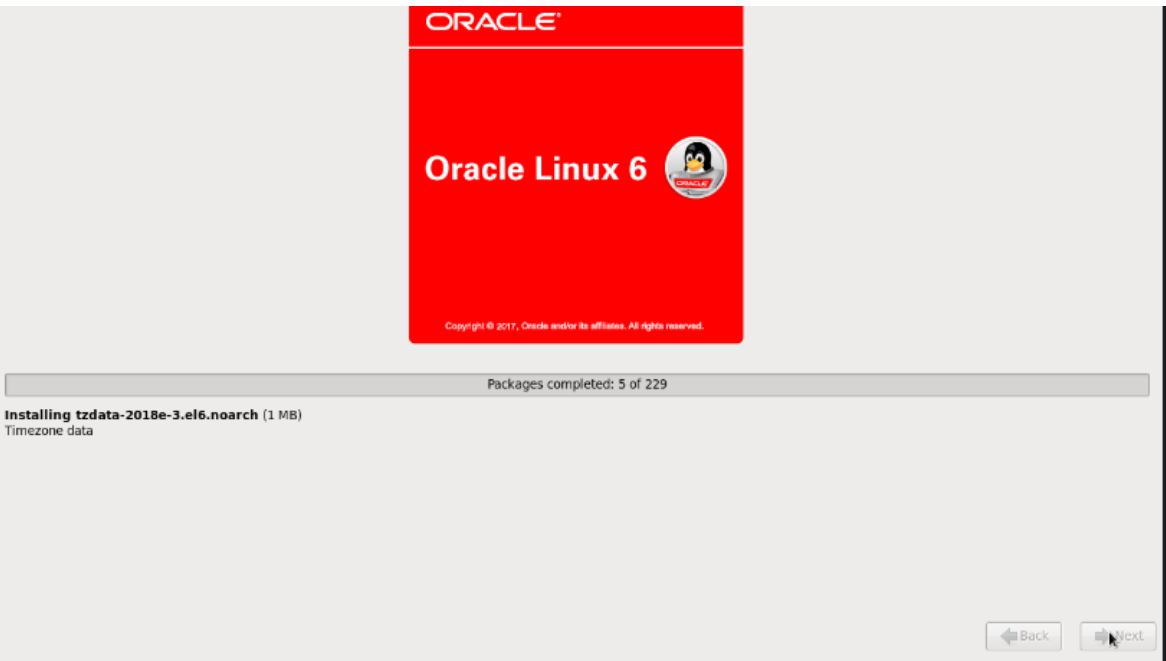
Installation complete screen. Here, we click “Restart”.
19. Boot Transition Screen: The transition screen while waiting for the system to reboot. #

20. Login Screen: Enter the login interface. #
The login screen—a view that makes most people feel intimidated?